- Install updates automatically (recommended)
- Download updates but let me choose wheather to install them
- Check for updates but let me choose wheather to download and install them and
- Never Check for Updates(not recommended)
ती 4 वटा Options मध्ये कुनै एउटा Option छानेर Windows Update बन्द तथा सुचारु गर्न सक्नुहुनेछ। तर Windows 10 मा ती Options हरु उपलब्ध छैनन्।
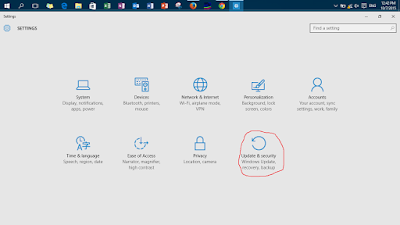
जब Setting>>Update and Security>>Windows Update>>Advanced Options मा गएपछि Some Settings are managed by your organization भनेर भन्छ। यहाँबाट Windows Update Disable/Enable गर्न सकिदैऩ।


तलका Step हरू बाट Windows Update Configure गर्न सकिन्छ।
- Win+R बटन थिची Run program खोल्नुहोस्।
- gpedit.msc टाइप गरी Enter थिच्नुहोस्।

तलका चित्रहरुमा रातो घेरा लगाईएको Step हरुमा क्लिक गर्दै जानुहोस्।
रातो घेरा लगाइएको Option select घरी Right Click गर्नुहोस्।
यसरी Enabled वा Disable छनोट गरी Apply and Ok मा क्लिक गरी Windows Update Configure गर्नुहोस्।
This article/tutorial is written by Er. Bharat Dankoti, ICTV DDC Gorkha. For feedback, please comment on the article below.


0 comments:
Post a Comment